Start opswitch
Here are the steps necessary to start using opswitch.
- Preparing to start opswitch
- Create an opswitch account
- Initial setup of opswitch account
- Create Tasks and Jobs
Preparing to start opswitch
Section titled “Preparing to start opswitch”To get started with opswitch, please have the following ready
- Email address
- AWS account to be linked to opswitch
Create an opswitch account
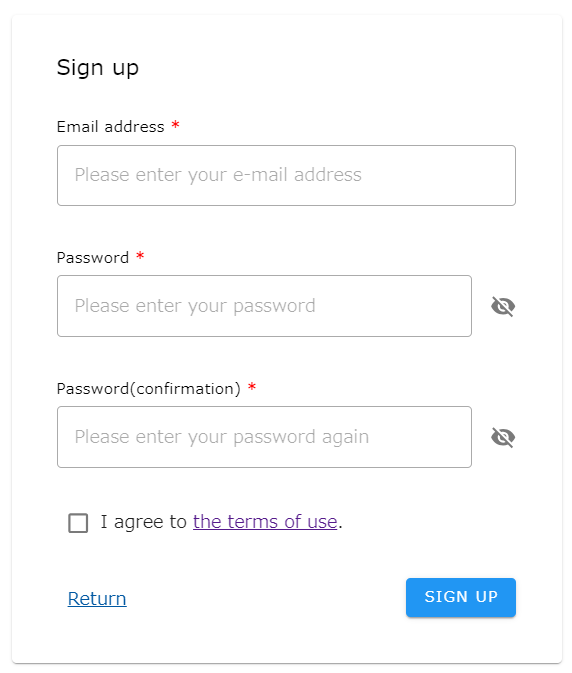
Section titled “Create an opswitch account”The first step is to create an opswitch account.
-
Enter your “E-mail Address”, “Password”, and “Retype Password”. Review the Terms of Use, enable the “Check Box”, and click “SIGN UP”.
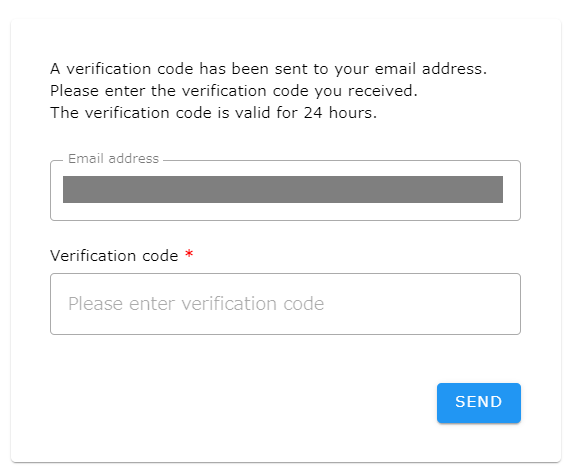
- A confirmation code will be sent to the e-mail address you entered.
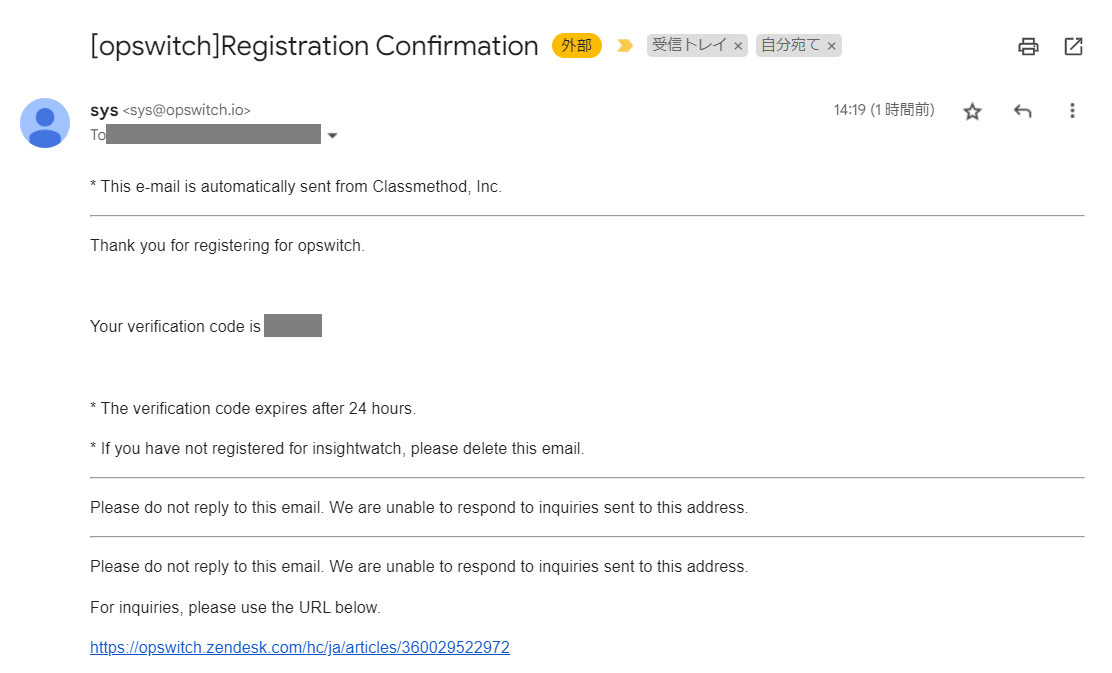
4.Enter the Confirmation Code. The confirmation code is valid for 24 hours.
This completes the creation of your opswitch account.
Initial setup of opswitch account
Section titled “Initial setup of opswitch account”The next step is to set up the initial configuration of your opswitch account.
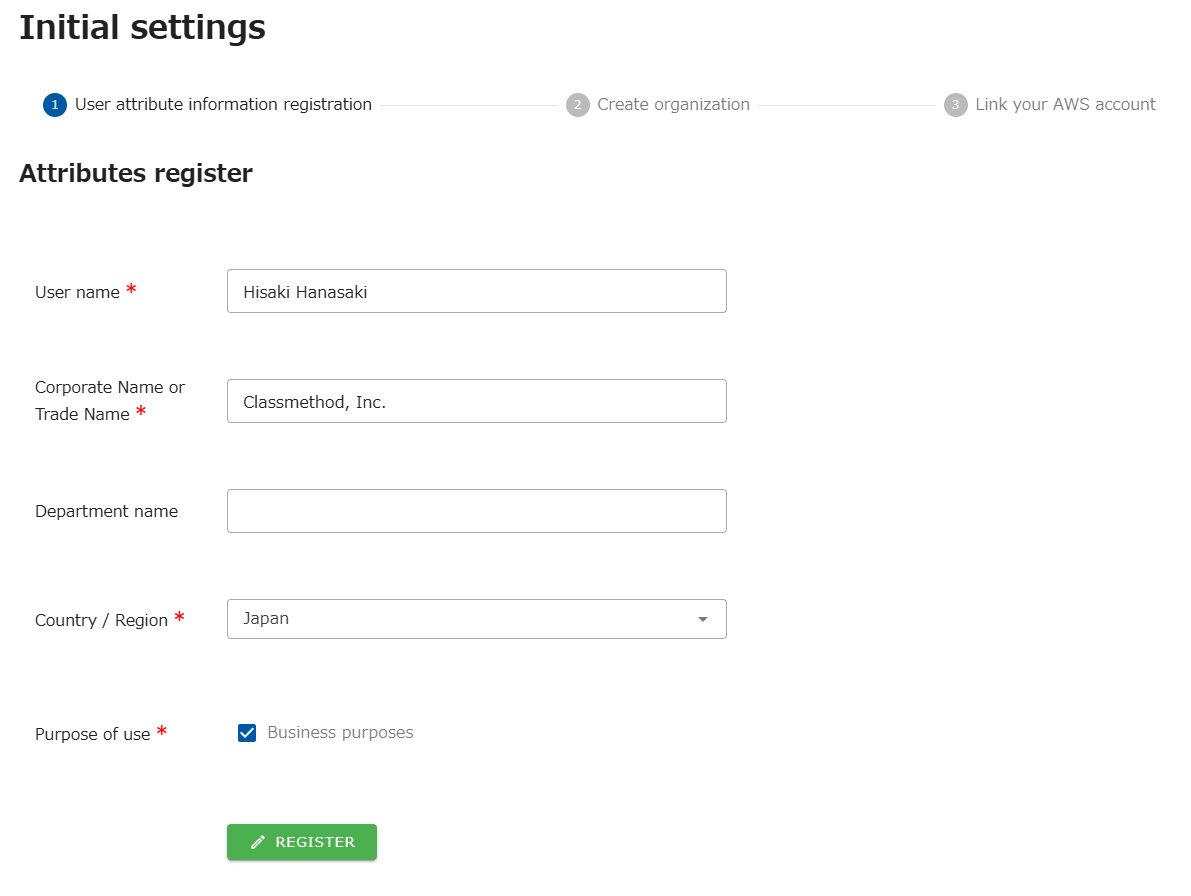
1. User attribute information registration
Section titled “1. User attribute information registration”After sign-up is complete, you will be redirected to the initial setup screen. First, register user attribute information. Enter the User name, Company name, Department name, Country / Region, and Purpose of use.
2. Create an organization
Section titled “2. Create an organization”Next, create an organization. The organization name can be changed later, so enter any name you wish.
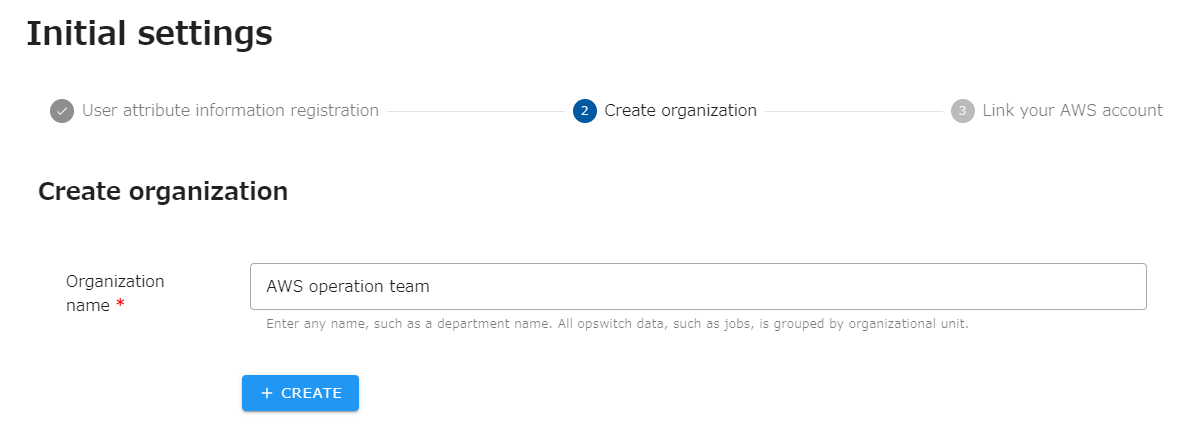
For more information, please see Create organization.
3. Create an AWS Account linkage
Section titled “3. Create an AWS Account linkage”Next, link your AWS account. The following screen will appear, so please follow the steps on the screen to link your accounts.
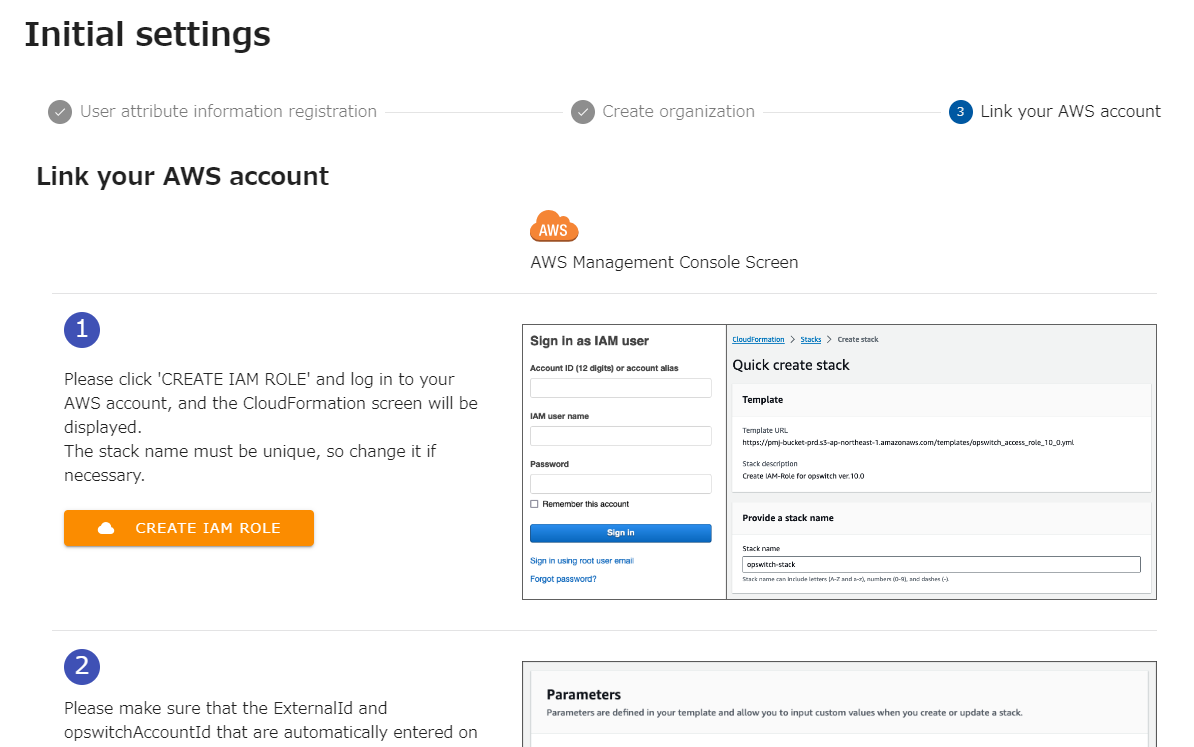
For more detailed instructions, please see Link to your AWS account
Once the linkage with your AWS account is complete, the following screen will appear.
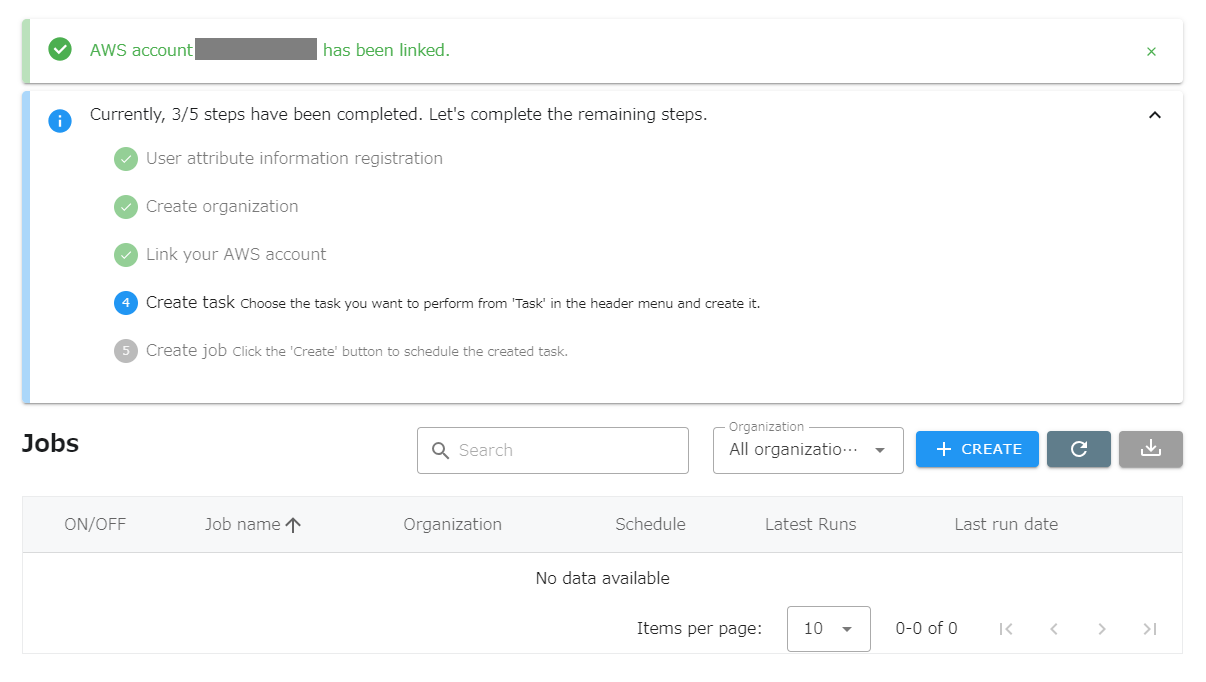
This completes the initial setup.
Create Tasks and Jobs
Section titled “Create Tasks and Jobs”Then create tasks and jobs. See the following page for an explanation of tasks and jobs.
Create tasks and jobs on the following pages. Please refer to this page to create tasks and jobs.