Change EC2 instance type
You must have AWS Account Linkage version 2.0 or higher to run this job. Please see the following page for information on updating permissions.
Update your linked AWS account to use new features
The procedure for creating a task is as follows.
- From the header menu, click “TASK” - “EC2” - “Change EC2 instance type”.
- A list of tasks will be displayed. Once you have created a task, you can edit or delete it from this screen. At first, there are no tasks, so click the CREATE button.
- Enter the conditions and click the CREATE button.
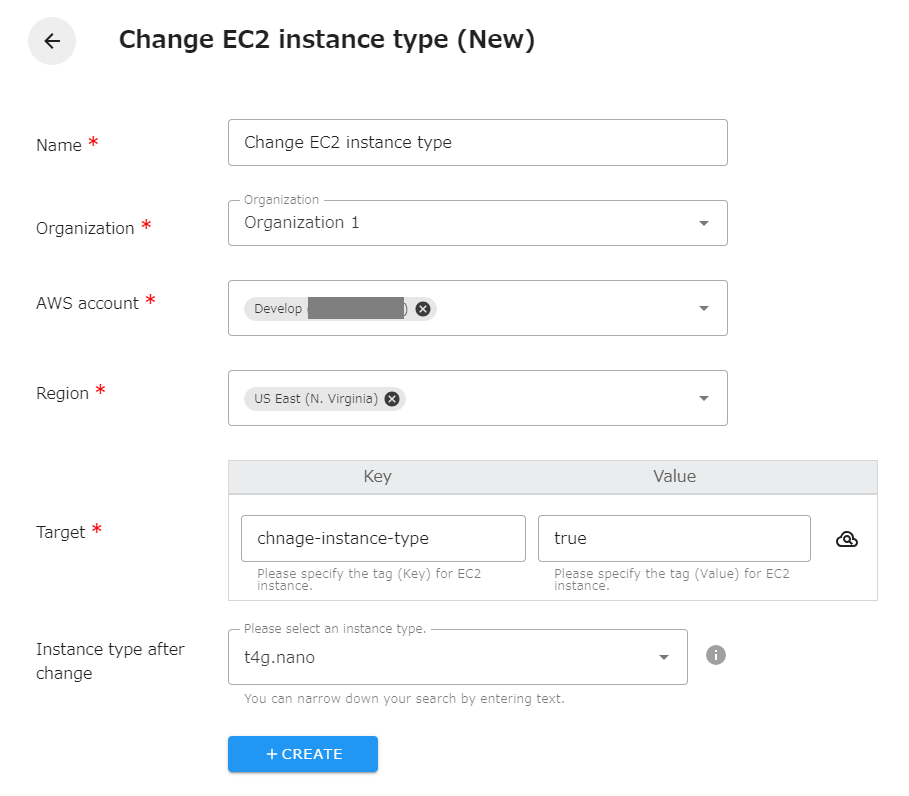
The following is a description of the items on the screen.
| Name | The name of the task. |
|---|---|
| Organization | Specify the organization. Members of the same organization can browse and edit. |
| AWS account | Linked AWS accounts will be displayed. Select the target AWS account. |
| Region | Select the target region. |
| Target | Specify the tag (Key and Value) of the EC2 instance you wish to operate. You can also set the same tag to multiple EC2 instances to start or stop them all at once. |
| Instance type after change | Specifies the instance type after the change. |
-
Changing the EC2 instance type can only be performed while the EC2 instance is stopped. If you want to stop an EC2 instance with a job, please use it in combination with the EC2 start/stop task.
-
Depending on the combination of the EC2 instance type before and after the change, an error may occur. Before executing a schedule with a job, change the EC2 instance manually without any problems and confirm that the changed EC2 instance can be started. For more information, please refer to the following AWS document.
-
After changing the EBS optimization from a supported instance type to an unsupported type in a job, an error will occur when trying to launch EC2 from the Management Console or AWS CLI. In this case, change the instance type again in the Management Console.